


How to Wire A Light Switch
29 March 2019

Wiring a Light Switch
To wire a light switch, consider whether the circuit is ‘one-way’ (one light switch operating one light) or ‘two-way’ (two light switches operating the same light). In addition, the light switch will either be 'one-gang' (one switch on the plate) or 'two-gang' (two switches on the plate) or higher. This is an overview of how to wire a one-gang light switch on a one-way circuit:
- Switched Live Wire (SW) connects to L1 port
- Common Live Wire (CW) connects to Common port
- Earth Wire connects to switch plate/back box Earth ports (Multi-gang switches and two-way circuits require further consideration)
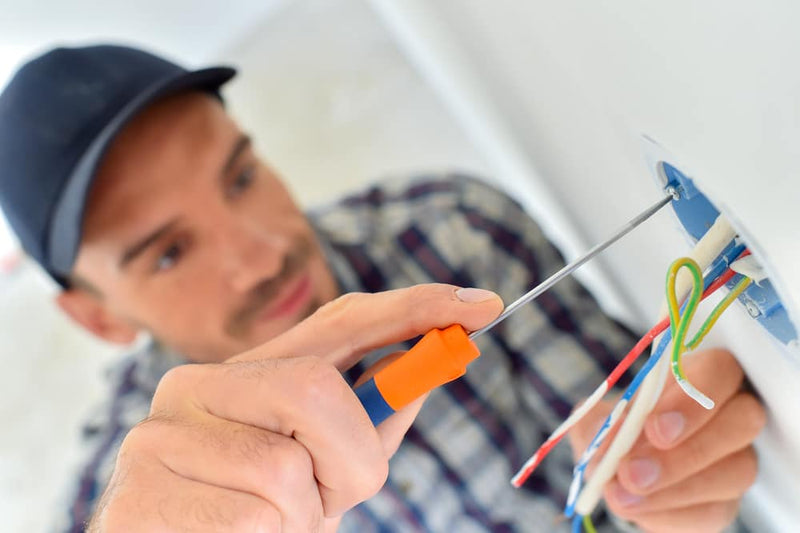
How to wire a light switch (one-way)
First, we must identify a one-way light switch. If you are aware that a light may be controlled from two locations (e.g. one light switch located at the foot of a stairwell and another located at the top of the stairs) the circuit can be immediately discounted as a single switch circuit.
Prep Work
If a switch has failed, the switch must be replaced and rewired. Modern switches typically come in two varieties. There are switches in which wiring must be held in place by a screw, and there are ‘plug-in’ style switches where wiring is held in place by a sprung push-button release mechanism. For increased reliability, we recommend using the screw variety of switch plate.
STEP 1 - Turn off the Power
The first priority is to ascertain which lighting circuit the new switch is going to be installed on and switch off the power supply. This is via an MCB (miniature circuit breaker) located in the mains consumer unit in more modern homes. In larger premises such as office blocks or schools where the temporary loss of mains power is likely to inconvenience many people, you may choose to identify and switch off the correct fuse at the fuse panel out of hours. For added safety, use a voltage tester to ensure that the circuit is not live and there is no power to the switch.
STEP 2 - Remove the Existing Switch Plate
Unscrew the switch plate, pull it towards you slowly and examine how many wires are present and what colour they are. (Tip: the plate will be attached to up to three wires. If you are aware that the light switch was functioning correctly prior to replacing the switch plate, simply note the layout of the wires and copy the wiring layout in the replacement switch plate.)
Remember: Always test the wires with a voltage tester to ensure there is no mains supply present before you start disconnecting them.
STEP 3 - Identify Wires and Wire Ports
Assuming that that there is no existing light switch from which the wiring layout may be copied, we must understand which wire fits into which port based on the colour of the wires and the labels located next to each wire port on the reverse of the switch plate. First, let’s recap the colours used to identify the Common Live wire, the Switched Live wire, and the Earth wire:
WIRE TYPE
OLD COLOUR
NEW COLOUR
Common Live
Red
Brown
Switched Live
Black/Red
Blue
Earth
Green & Yellow
Green & Yellow
If the wires in the back box are new, they may not be stripped. Using a wire stripper, remove up to ½ inch of the wiring insulation, exposing the wire beneath.
STEP 4 - Wiring the Switch Plate
Next, look at the reverse of the the new/replacement switch plate and identify the wire terminals labelled ‘Common’ and ‘L1’ (an additional L2 port may be found next to the L1 port on some units intended to be used as a single switch - the L2 port is used in wiring two-way circuits and may be ignored when wiring a one-way circuit).
- Connect SW (blue) to the port labelled L1
- Connect CW (brown) to the port labelled Common
- Connect the Earth wire to Earth terminals present in both the back box and switch plate*
*Earth terminals are only present in metal switch plates and metal back boxes (i.e. Earth terminals are not found on plastic switch plates and plastic back boxes).
When dealing with both a plastic switch plate and plastic back box, the Earth wire may be terminated inside the wire’s protective insulation sleeve and folded over.
If the back box or the switch plate is made of metal, connect the Earth wire to the Earth wire terminal.
Where BOTH the back box and the switch plate are metal, first connect the Earth wire to the Earth terminal in the metal back box, and use a separate piece of wire to connect the Earth terminal on the metal switch plate to the Earth terminal on the metal back box.